Advent Wreath (german: Adventskranz)
Introduction and Results
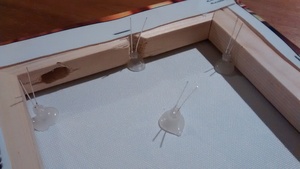
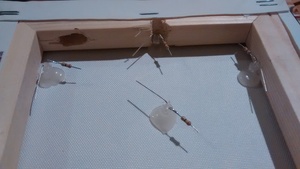
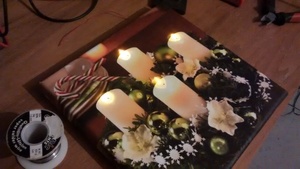
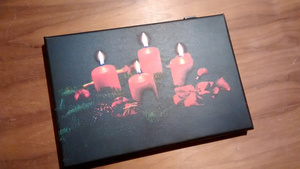
Winter is coming.. and so is Christmas!Once I saw a photo canvas of an advent wreath as decoration in our house. It had the nice feature of having usual yellow LEDs behind the lights of the candles and even ONE on/off switch.. Ok, my point is obvious: I wanted to improve the idea by using flickering LEDs and adding more switches to control each "candle" individually to use it as a real advent wreath. The results are here (Sorry for the bad pictures - made with my smartphone):



Getting the Material
There are many places to find the material, mine are the following:Flickering LEDs
Instead of using usual LEDs and create the flickering on my own (e.g. with a ATtiny), I just bought them at http://shop.evilmadscientist.com. My first advent wreath contains 'Warm White 5mm Diffused Candle Flicker LEDs', but the yellow ones are nice as well. The 5mm are better than the 3mm, because they look less point-shaped (but only less.. still room for improvement).Designing the Canvas
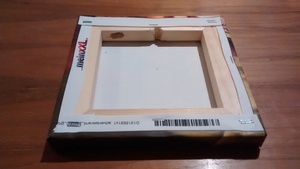
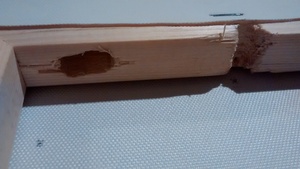
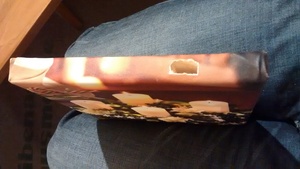
Search the internet for some nice pictures, go to a photo canvas printing website and order one canvas with your desired motive in the size you want! The site http://www.meinxxl.de was my choice, but just because of the discount they had at that time. The quality is not that awesome, but quite okay for the prize (I paid 3.5€ per canvas). Here I should mention, that the width of the wooden frame is 3.5cm. So you should ensure, that the positions of the candles are inside it (or you have to drill through it, like me).
Soldering and Woodworking
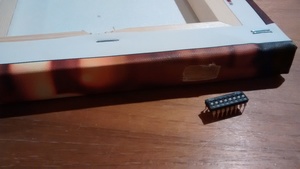
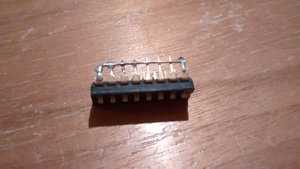
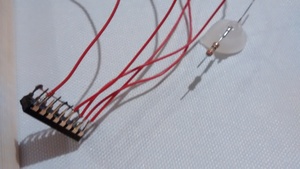
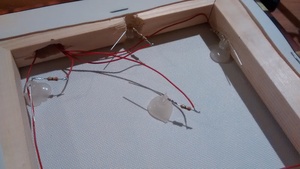
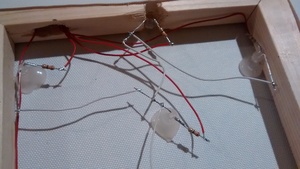
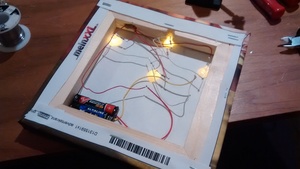
For this project, the soldering was the easiest part. Well, it could be done nicer, but noone will see it inside the canvas. Each LED needs a resistor and one pin of each should be connected to one switch. Since I only had a 8-dip switch lying around, I also used one part of it as on/off switch. The whole thing is powered by 2xAAA batteries, so it's 3V (>2.7V needed by the LEDs).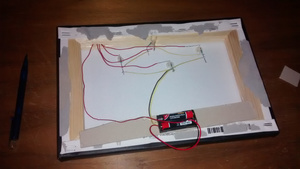
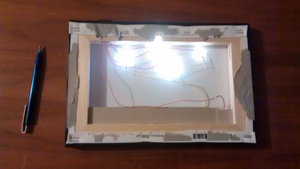
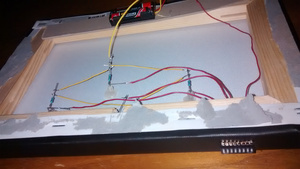
(I glued a paperboard on the back to hide the electronics, but removed it to show you the simplicity of the hack)
In the meantime I created another one and took some more pictures during the process. Here they are:
